Sunday 23 November 2014

Altered Cheese Box !

Gosh if your day outside is anything like it is here in Kent there is only one thing for it and that is to stay in and play--- ( oops I mean be creative!).


Sometime ago I saved a wooden cheese box, having enjoyed the contents of course and left it outside on the garden table to allow it to release the now stale cheese aromas. As with so many items saved the thoughts were this must have a use, well this one will have.

The decoration 'sort of' follows on from my last blog entry as I really love the effects the shaving foam and acrylic paints made through a stencil.
To begin with the box was given a coat of white gesso all over-- top, bottom, sides etc. Then a coat of Toad Hall Fresco Chalk acrylic paint and once dry, which was very quick as the box absorbs the paint like a sponge, a coat of Americana Weathered Wood just on the lid, top and sides and the sides of the base. The top coat was then Guacamole in the Fresco Chalk mixed with Eco-Friendly Aged Silver acrylic. Once this had dried I then went over with a dry brush using Inky Pool translucent acrylic.

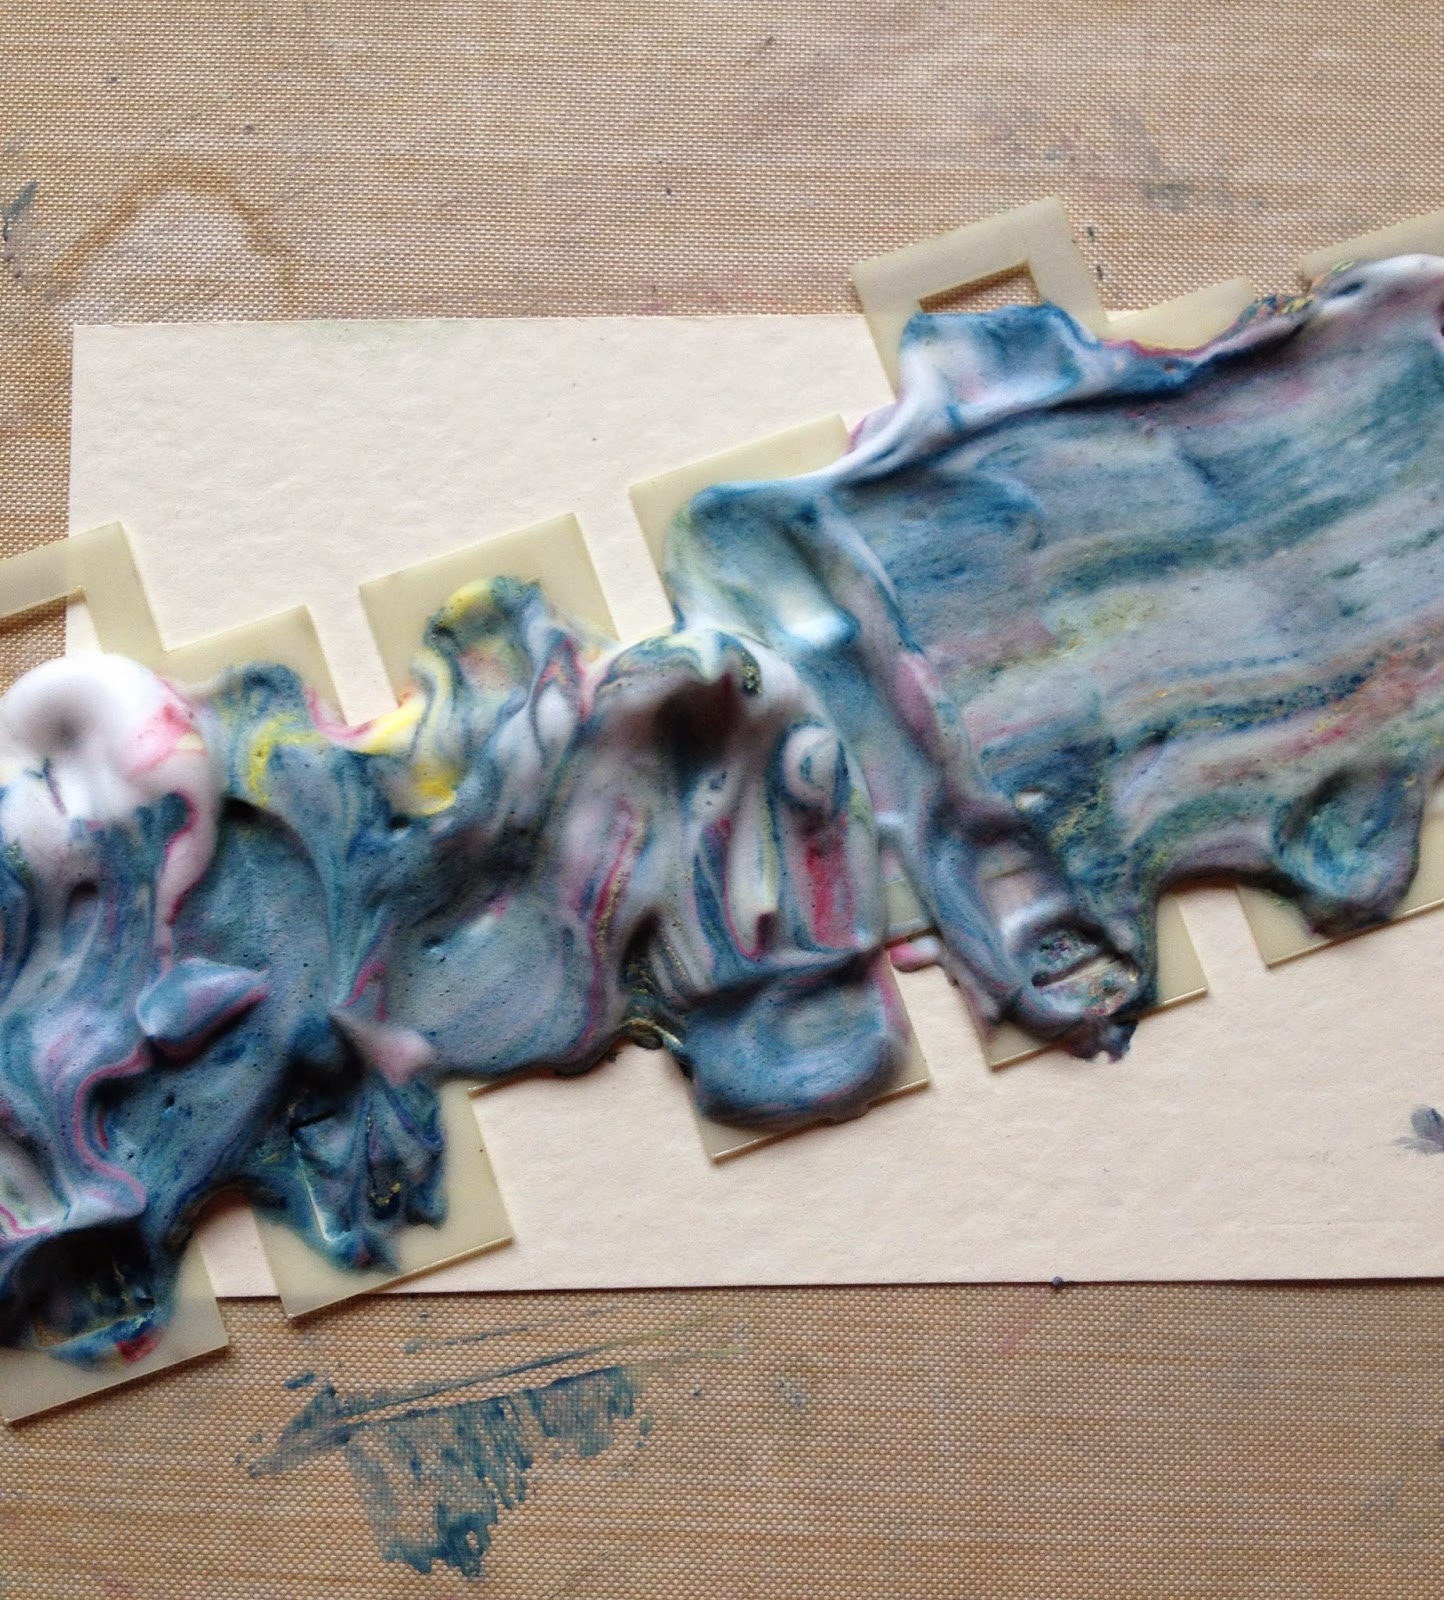
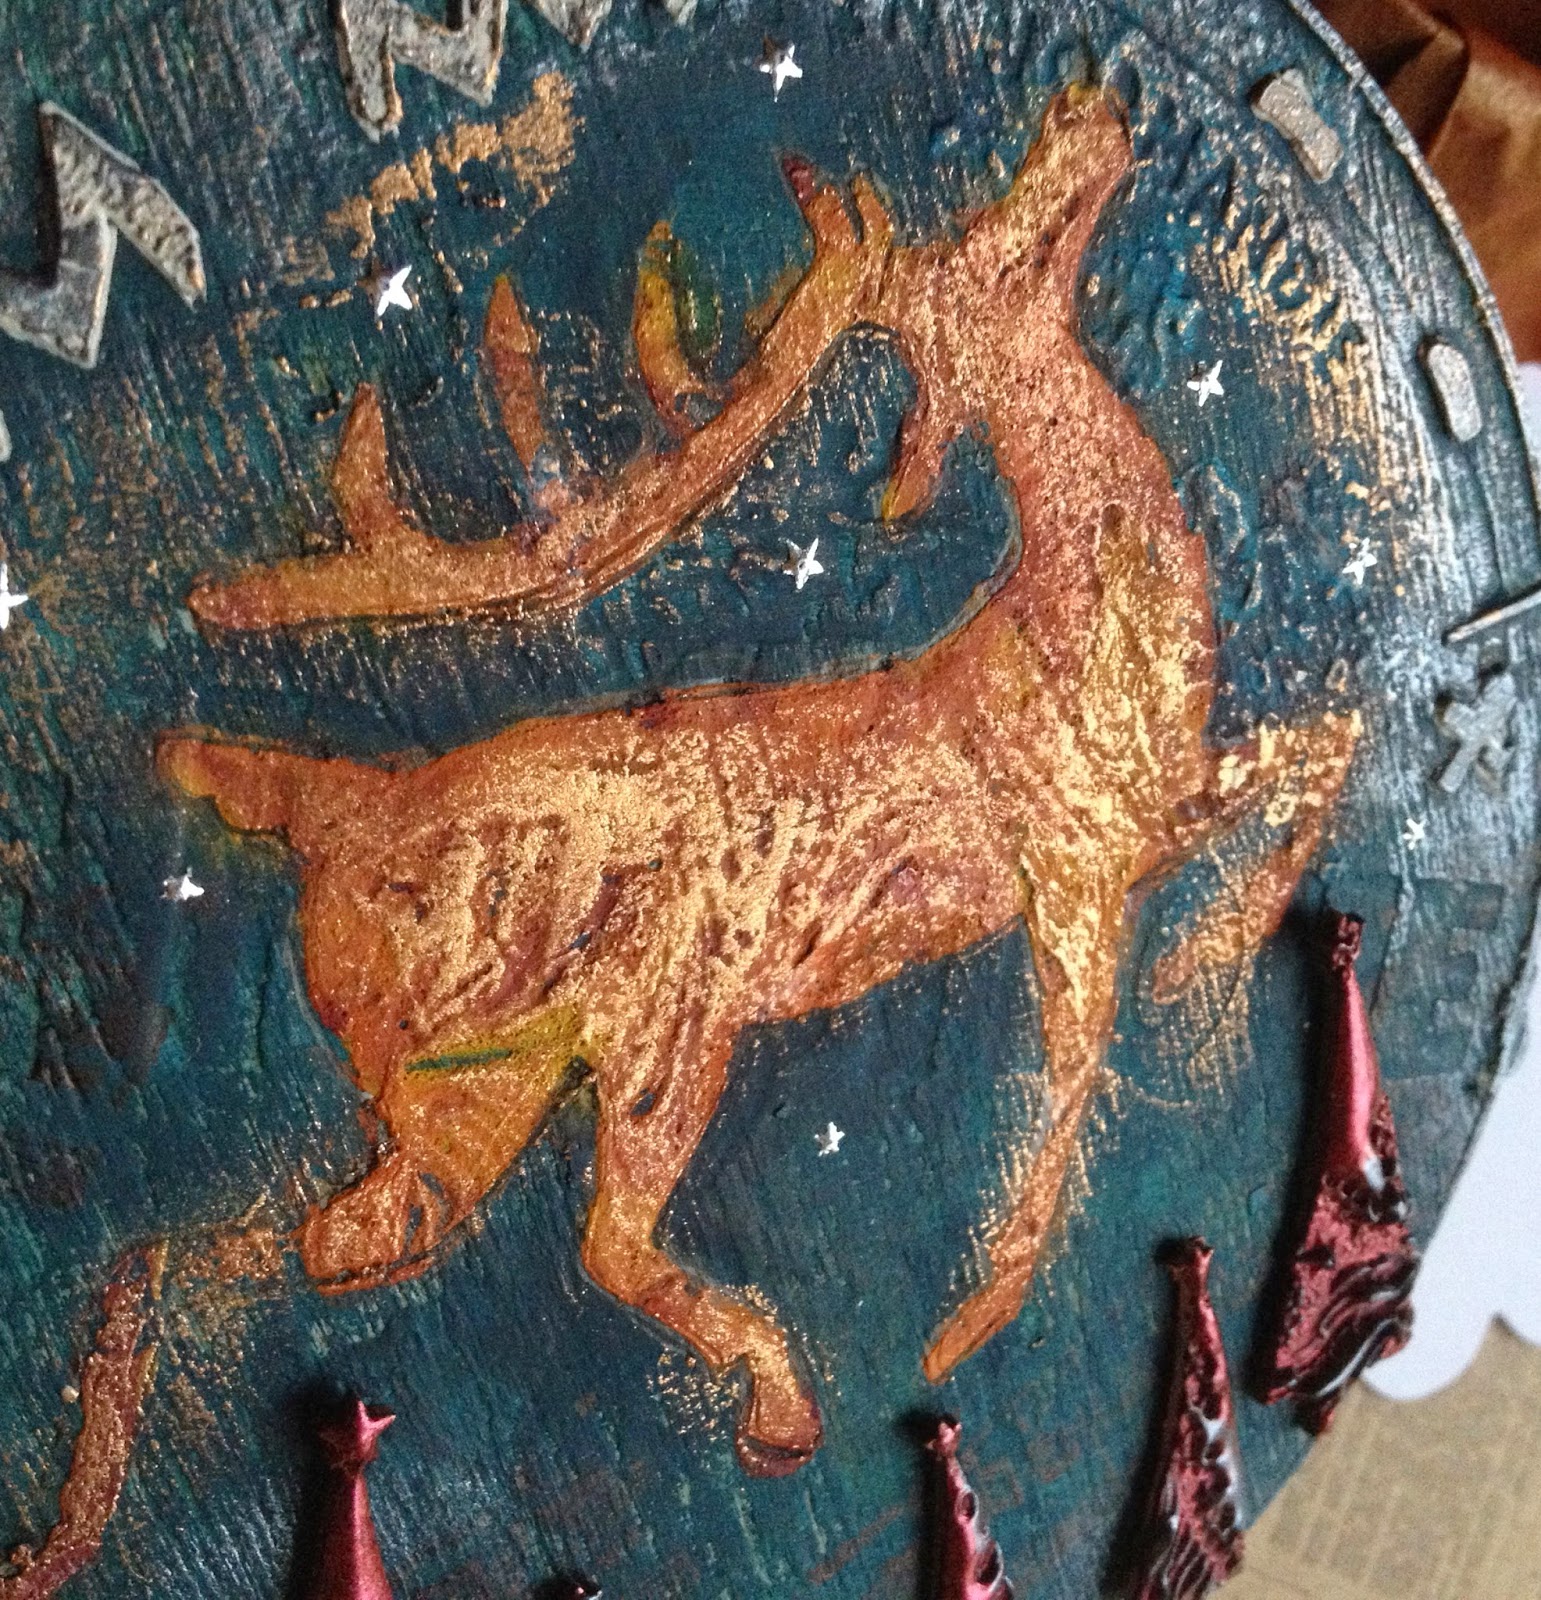
Then using the medium sized reindeer stencil from the Tando-Creative set of stencils and masks I spread a mix of the shaving foam with Autumn Fire, Pumpkin Soup and Claret Fresco Chalk paints. I also fancied a card to match.


Once the reindeer was completely dry I went around the outline of the reindeer on the box with a fine nibbed black pen.

Next I added touches of grunge paste through the Tando-Creative Stitches group mask around the top half of the lid above the reindeer. 

Around the rim of the lid I stencilled Christmas twice using Brilliance inks in Starlight Black and Ocean Depth.


I randomly stamped some music in black ink around the legs of the reindeer before decorating the Mini Wonky Trees also by Tando-Creative.
These were embossed twice with Cosmic Shimmers ultra thick Lave Black embossing crystals and then whilst the embossing crystals were still hot a stamp inked in black Archival was pushed into the molten plastic. Beware though not all makes of stamps will stand up to the heat !!!

Once cool and the stamp removed the raised edges were then rubbed with Decoart Metallic Lustre in Black Shimmer as were the grunge paste stitches on the lid. The trees were stuck onto the lid with pva glue.


The reindeer was lightly rubbed with Treasure Gold in Ruby and Renaissance and a few tiny silver stars were added in the sky.

The inside was lined with some copper coloured tissue paper.


The thoughts behind the box is to fill it with home made chocolate truffles for a christmas present.


And there's a matching card to go with the present.


The lovely marbling shows up better in the photo of the card than it does on the box, but unfortunately it doesn't pick up the slightly raised texture.

If you would like more details of the shaving foam and stencil technique pop over to my previous blog entry titled 'Playing with Fresco Chalk Acrylics and Shaving Foam'.

I would like to enter this into Tando-Creatives monthly Challenge titled "Something with a use".

Thanks for stopping by today  and a big thank you for all the wonderful comments - they really are appreciated. Hope you enjoy your day and hopefully have some time to do something 'Crafty'.
Take Care, Jane x


Sunday 16 November 2014

Playing with Fresco Chalk Acrylic Paint and Shaving Foam

A very happy Sunday to you all and today I've been having a session with paint and shaving foam which was inspired by Lucy Edmondson over on the PaperArtsy Blog. To view Lucy's experiments click here.


To begin with I gave the MDF heart a coat of white gesso, the other items used were smooth white card, black card, cream coloured hammered card and white glossy coated card.


I sprayed some cheap shaving foam into a shallow plastic lid and added Baltic Blue, Claret, Zesty Zing and Guacamole fresco paint.


This was then swirled around with a wooden skewer. ( yummy)

First off a laid the MDF heart into the foam and lightly pressed down, took the heart out straight away and scrapped off the excess foam with an old credit card.


Nice!

Next I put in the black card and repeated the process.


Then I spread some of the foam onto the smooth white card and covered it with a piece of cling film and wriggled it about a bit !


This was left for a couple of mins to soak in. While I was waiting to scrap the foam from this one I decided to try making a ball of bubble wrap, dipping it into the foam and paint mix and dabbing it onto the glossy coated card stock.


I'm not so sure about this one --- maybe the paints were getting a bit muddy at this point, but I would give it another try sometime.

Next I grabbed the cream hammered card and a Tando Creative stencil and spread the foam mix through.


This was left for 2 mins before scrapping the excess off, then the stencil was carefully removed.


It was then left to dry which took about 10 mins.


Ooh like this a lot!!!

I looked at the foam and paint mix and felt it had formed a painty mess now so decided to scrap off the bulk of colour from the top, smooth over the top to make it level and add some more paint.

This time I used Pumpkin Soup, Claret and Snowflake and swirled it about like before. As I liked the effect through the stencil I went with that idea again, this time I used a reindeer which I stuck onto some smooth white card with masking tape and then pressed this into the foam mix.

On taking out I then scrapped off the excess but left the stencil in place foe 2 or 3 mins.


Love the odd touches of left over blue in the mix.
I then removed the stencil carefully and gave it a quick flash with the heat gun.


I really do like this one!!! It has got some depth and texture but it is still very smooth.

A big thank you to Lucy for the fantastic idea, I now need to clear up all the mess I've made, still it smells nice in the craft room now so that's a bonus!

Lunch is calling me now so I must away, I will enjoy using these backgrounds and will definitely explore these 2 mediums some more. Thanks as always for stopping by, I hope there has been something of interest to you and perhaps you will even give this a try like me.
Take care and enjoy your weekend, what's left of it! Jane x


Monday 10 November 2014

Stencilling with Grunge Paste inspired by Sara Naumann

Good evening and welcome, tonight I am sharing 2 cards that I've made using a technique being shown over on the PaperArtsy Blog by Sara Naumann. To follow this in technique in greater detail click on the link here.


For this I used a blank cream coloured card measuring 18cm x 13cm.
To begin with I cut 2 pieces of white card one measuring 17cm x 12cm and the other 9cm x 6cm, both pieces were given a coat of Fresco Chalk paint in Baltic Blue.
The larger piece was mounted onto the card base and then a piece of cream card was cut measuring 16cm x11cm and stuck on top.

Next I coloured some grunge paste with Toad Hall and Guacamole paint and spread this through a honeycomb patterned stencil. A small piece of white card was also spread with the coloured grunge paste ready to stamp on for the centre.

Using Versa-mark ink I stamped and then white embossed one of the images from Lynne Perrella 011 onto some kraft card.


Once the grunge paste was completely dry I distressed the edges of the card and then lightly coloured them with Antique Linen D.I. as this has a slight green tint. The 2 side edges of the kraft card were torn so as to be in keeping with the green honeycomb card.
The small piece of card with grunge paste on was then stamped using Walnut Stain D.I. and stamps from Hot Picks 1004.

A piece of navy twine was tied around the edge of the kraft card and 4 screw shaped brads were used to attach the stencilled card and the kraft card to the base.

The stamped grunge paste was mounted onto the small piece of painted card and then a piece of cream card. The clipboard top was cut from black card using Tim Holtz Movers and Shapers Mini die and then rubbed with Decorate Metallic Lustre in Black shimmer to give a metallic appearance.

When I was using the coloured grunge paste I had some left so quickly grabbed another stencil and spread the remainder through the baubles.


Once the paste was dry I cut the baubles out leaving a slight margin all the way round. Then using a white linen card I stamped the bunting and the laying down baubles from Jofy 07 stamp set in Archival Watering Can. Once completely dry I then coloured these in using 2 water colour pencils and then blended the colours with a wet brush.
The grunge paste baubles were given some Treasure Gold in Olive Bronze before sticking onto the card and finally 'Believe' was stencilled on using Bundled Sage D.I. and Brilliance Pearlescent Olive and Crimson.


I really like how these extra baubles have turned out, a little bonus!!


The grunge paste mixes really easily with the paint and its a great to colour the paste if you are not going to paint the whole piece once the paste has been applied.
Thank you to Sara for the tips and inspiration, a technique that will be used many times.

Thanks for stopping and reading this blog and your comments are very much appreciated. Hope you have a good week, take care and enjoy your 'Crafty Time". Jane x