Thursday 24 July 2014

"Come Fly With Me" Tag

After spending a few days away in a gorgeous spot in Cornwall -------


It's now back to the normal routine of work, housework and the most important part playing and getting inky and painty!

I was lucky enough to be last months winner of the Tando-Creative challenge so was eager to play with my prize which fitted in very well with their new challenge so here is my entry for 
"Come Fly With Me"


I started by painting the tag with a coat of Fresco Chalk Acrylics in Inky Pool, then once dry a coat of Americana Weathered wood but not adding this to the top left-hand part of the tag. Once this was dry I painted the whole tag with a coat of Fresco Chalk Acrylics in Nougat.

The area where the weathered wood was not applied I then lightly sanded to reveal some of the inky pool.

I then stamped the hot air balloon from the PaperArtsy  Hot Picks 1106 onto clear shrink plastic using Versa-Magic Ocean Depth and Brilliance Starlight Black ink. This I left over night to dry and punched a small hole at the top before shrinking with a heat gun.


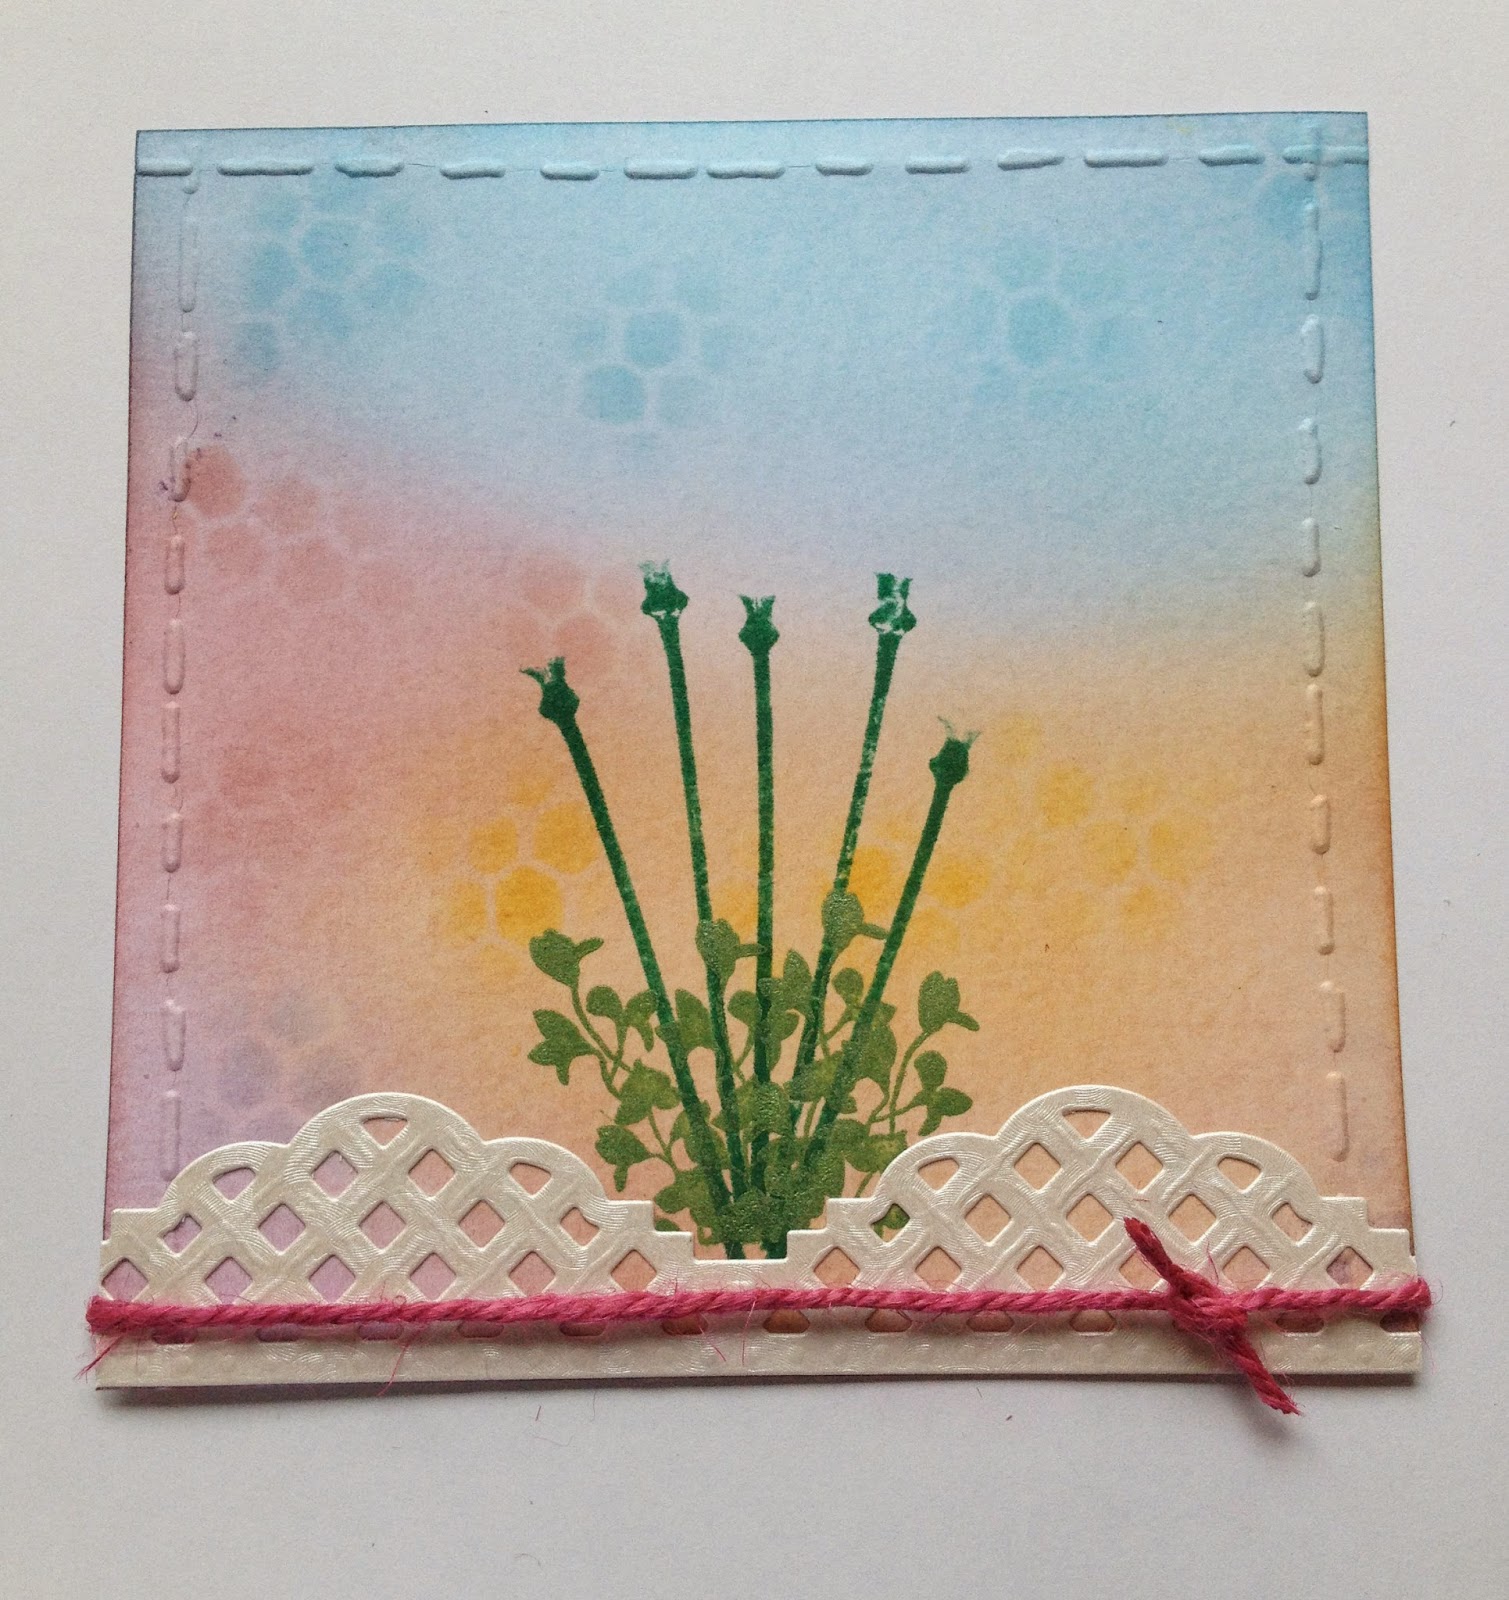
Next I stamped Lady's Mantle from Clarity Stamps on the side using versa-mark ink and clear embossing powder.

The fern leaves were added using the ocean depth ink and the waste part of a fern leaf die by Memory Box.


 The dots were added using the Tando-Creative Sequin Waste mask and the ocean depth ink.


I then applied a couple of strips of Tim Holtz tissue tape to the top right part of the tag.

Now onto the Butterflies which were part of my goodies, these are from the mini set and I used a small, medium and large. These were first given a coat of white gesso, then I dabbed on some Zesty-Zing acrylic paint to give a slight texture.


You can pick up the texture in the close up photo.


Once this was dry I then over stamped using InkyDoodles Text Background and Archival Watering Can ink. The edges of the butterflies and the tag were lightly inked with Brushed corduroy Distress Ink.


3 gems were then stuck on the centre of each butterfly.
The 2 small tags were cut from Tim Holtz die Tiny Tabs and Tags, one was stamped with Take Flight from InkyDoodles Happiness is-- stamp set and Fly was applied using rub on letters. Both small tags were then inked round the edges with the brushed corduroy.

A length of jute ribbon was used for the top of the tag and to attach the 2 small tags and the shrink plastic balloon was tied on with some navy thread.

Before attaching the 3 butterflies I coloured some floristry wire with the brushed corduroy ink and then twisted it around a cocktail stick and this was used to connect the butterflies.


The blue of the inky pool and the ocean depth really makes me think of the beautiful sea at Cadgwith Cove.


Well I hope you are managing to keep cool during this very hot spell, take care and thanks as always for stopping by. Hopefully we will meet up again soon, Happy Crafting. 

All comments and messages are much appreciated, bye for now Jane x


Friday 11 July 2014

Summer's Here !!

A very happy Friday to you all and the title of this blog entry really doesn't reflect with what's  happening outside the window, ( grey and very damp!) but hey we can dream a little.


Walking around the garden earlier this week I felt I wanted to make a card that reflected the colours of the flowers in bloom at the moment i.e. nicotianas, calendars, roses and zinnias.


Items Used

Lavinia Stamps; Zen Flower 2, Poppy Pods and foliage from the magazine freebie
Distress Inks in Faded Jeans, Tumbled Glass, Lilac Shades, Victorian Velvet, Wild Honey and Pine Needles.
Piece of white card about 14cm square + smooth white card for stamping flowers on.
Pro-Markers in Lipstick Red, Pumpkin and Lime Zest.
Tim Holtz embossing folder from Pattern and Stitches A2 set
Clarity Honeycomb Stencil
Perfect Pearls in bisque
Brilliance ink in Pearlescent Thyme
Lattice die from Spellbinders
Stickles in Crystal
Length of fuchsia coloured string
Black Archival ink pad
Versa-mark ink pad
Clear and white Embossing Powder

To begin with I stamped various flowers in black ink onto white card and then embossed with the clear powder and also versa-mark ink and white embossing powder. These were then coloured in using the pro-markers and cut out. The buds were formed by using 5 petals from a flower, curling them and then sticking the tips of the petals with some pva glue. I stuck petals 1, 3 and 5 together first and the brought in petals 2 and 4, so as to form a layer.


The main flowers were made of 2 layers glued together and a piece of Craftwork Cards candi used for the centre.


I then coloured the background card using the distress inks and a brush. Once happy with the tones I added subtle areas of matching colour ink using the honeycomb stencil and a sponge.
Once dry I embossed 3 sides with the stitch embossing folder.


Next I stamped the flower stems by inking the the poppy pods stamp but not inking the actual seed head. For this I used the pine needles ink.

Then the leaves were added using the pearlescent thyme ink which gives a slight shimmer.
The white lattice die cut was then stuck to the bottom of the card and trimmed to size. The pink string was then stuck to the back and knotted at the front.


Before attaching this to the card blank I added a very small amount of corresponding coloured ink to the edges of the card just to tie it all in.

The 2 lower flowers were attached first and the the 3rd centre one, next the 2 buds/ seed heads depending how you look at them. Next I added the dots of perfect pearls and then added a smidging of the stickles to the 2 outer petals of the buds.


I would like to enter this for Lavinia Stamps monthly Challenge titled 'Summer Colours'.

Well I hope the sun pops its little head out for us all over the weekend, Have a good one whatever you may be doing and if its raining there's always ink to play with !!

If you have time to leave a comment at the bottom of the page I would appreciate hearing what you think.

Take Care and thanks as always for stopping by Jane  x


Thursday 3 July 2014

Window Canvas


Hi everyone and a very happy thursday evening to you all. Todays offering was inspired by Liesbeth Fidder's Altered Canvas over on PaperArtsy's blog, to view this click on the link ;

The Main Items Used
10cm x 10cm canvas
Thin scraps of wood
White Gesso
PaperArtsy Stamps Lynne Perrella Collection LPC011 and Jofy 28
Small amount Lace
Tissue Paper
Archival ink in Jet Black and Sepia
PaperArtsy Grunge Paste
Clarity Brick Stencil
Fresco Finish Chalk Acrylics in Blush, Inky Pool, Zesty zing, Mermaid, French Roast, Nougat and Snowflake
Distress Stain in Antique Linen and Gathered Twigs
Distress Inks in Walnut Stain, Tea Dye, Brushed Corduroy, Pumice Stone and various shades of green
Treasure Gold in Sapphire and Ruby
DecoArt Metallic Lustre in Black Shimmer
Dylusions Alphabet border small Stencil

To begin with I gave the canvas and the strips of wood a coat of gesso. Once dry I stamped randomly some text with walnut stain onto the wood and then added some ink to the edges to give an aged look.


I then coloured the white lace with some watered down distress stain.


Now using Liesbeth's idea I stamped the image from LPC011 collection in jet black ink onto some crumpled tissue paper. Once completely dry I attached it to the canvas using some watered down PVA glue.


If you look hard at the stamped image you can see there is some ripples in the tissue paper----
I then heated it gently with the heat gun and hey presto it became completely smooth!


Before reading Liesbeths blog entry I would have tried stamping straight onto the canvas but I am so pleased with the effect the tissue paper gives.

Next I added the honeycomb using the sepia ink and a stencil on the plain part of the canvas, and the grunge paste was smoothed throughout the tiny squares on the Dylusions stencil. Once this was dry I added the colour to the canvas using the chalk acrylics.


I then added some odd stamping using pumice stone ink and the edge of the V from the stamp with the 3 crowns on the set.

The lace was added as the curtain and then the wood was attached to form the window frame.

I then raided the button box and found a rose shaped button but it was a revolting pink so it was given a coat of copper paint and then hi-lighted with the black shimmer wax.

The grunge paste was hi-lighted with the sapphire treasure gold.


Next using a piece of white card I then made the brick effect with the grunge paste and the brick stencil. Once dry I cut it to shape and gave the whole piece a coat of watered down acrylic paint.


The bricks were then coloured with D.I. and hi-lighted in places with the ruby and black shimmer waxes.


This was then attached to the canvas raising the corners to the same level as the wood with some double sided foam.

I then stamped several ivy leaves from the Jofy stamp set and coloured them in with various shades of distress ink. These were then cut out and curled to give some shape and form. I found some dry thin sticks and added these to the bricks before attaching the leaves and a few rose buds.


Once these were all added I kept starring at the piece but felt it still need something----


and then decided on the banner with "Dream"


I would like to enter this for PaperArtsy's weekly Challenge,
and Sunday Stampers titled 'Knock on Wood"

Well it's fast approaching the week-end so I hope you all have a peaceful and restful time, thanks as always for stopping by and hopefully we will meet here again soon. Take care and enjoy some quality crafting time Jane x