Sunday 25 August 2013

Distress Stain Coloured Paper

Well a very Happy Sunday to you all, hope you have better weather than us here in Kent where it is very grey and damp.


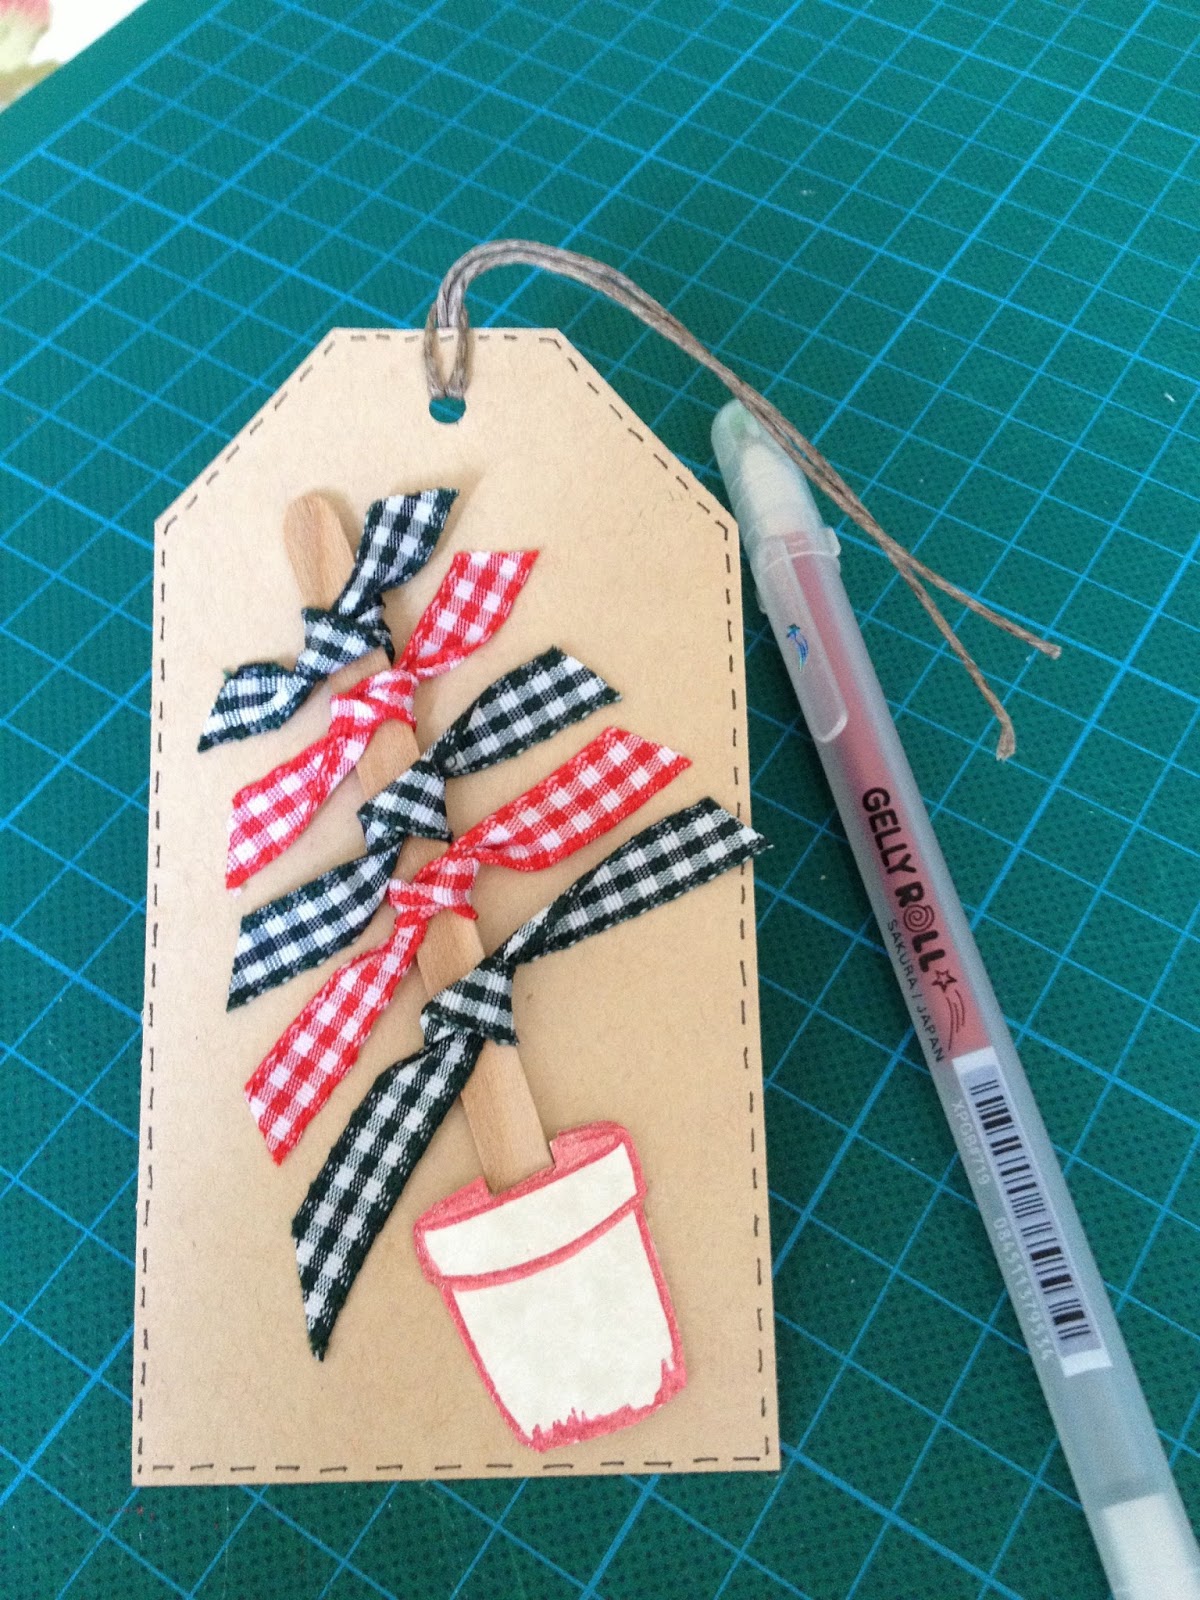
Today I thought I would explain how I colour ordinary printer/copier paper for making flowers and leaves for my cards and crafting projects like the ones in the photo.
If you are going out somewhere nice and want clean hands do this another day!!


To start with you need just a  sheet of ordinary copier paper which I spritzed with a little water just to prevent the inks drying immediately. Then I dragged over some Ranger Distress Stains, I started with Seedless Preserves.

Next spritz again with some water and add another colour, in this case I used Tumbled Glass and Salty Ocean. then spritz again with some water, I know it looks a mess but stick with it!
You can experiment with different colour combinations and get some amazing effects.


Now screw the paper up into a ball, if this is hard to do, spritz with a little more water. It should now look like the picture on the left. Next you need to carefully unravel the ball and lay it flat on your craft mat.


At this point if the paper is drying out just spritz again with a little more water, the more water you use the more the colours blend.


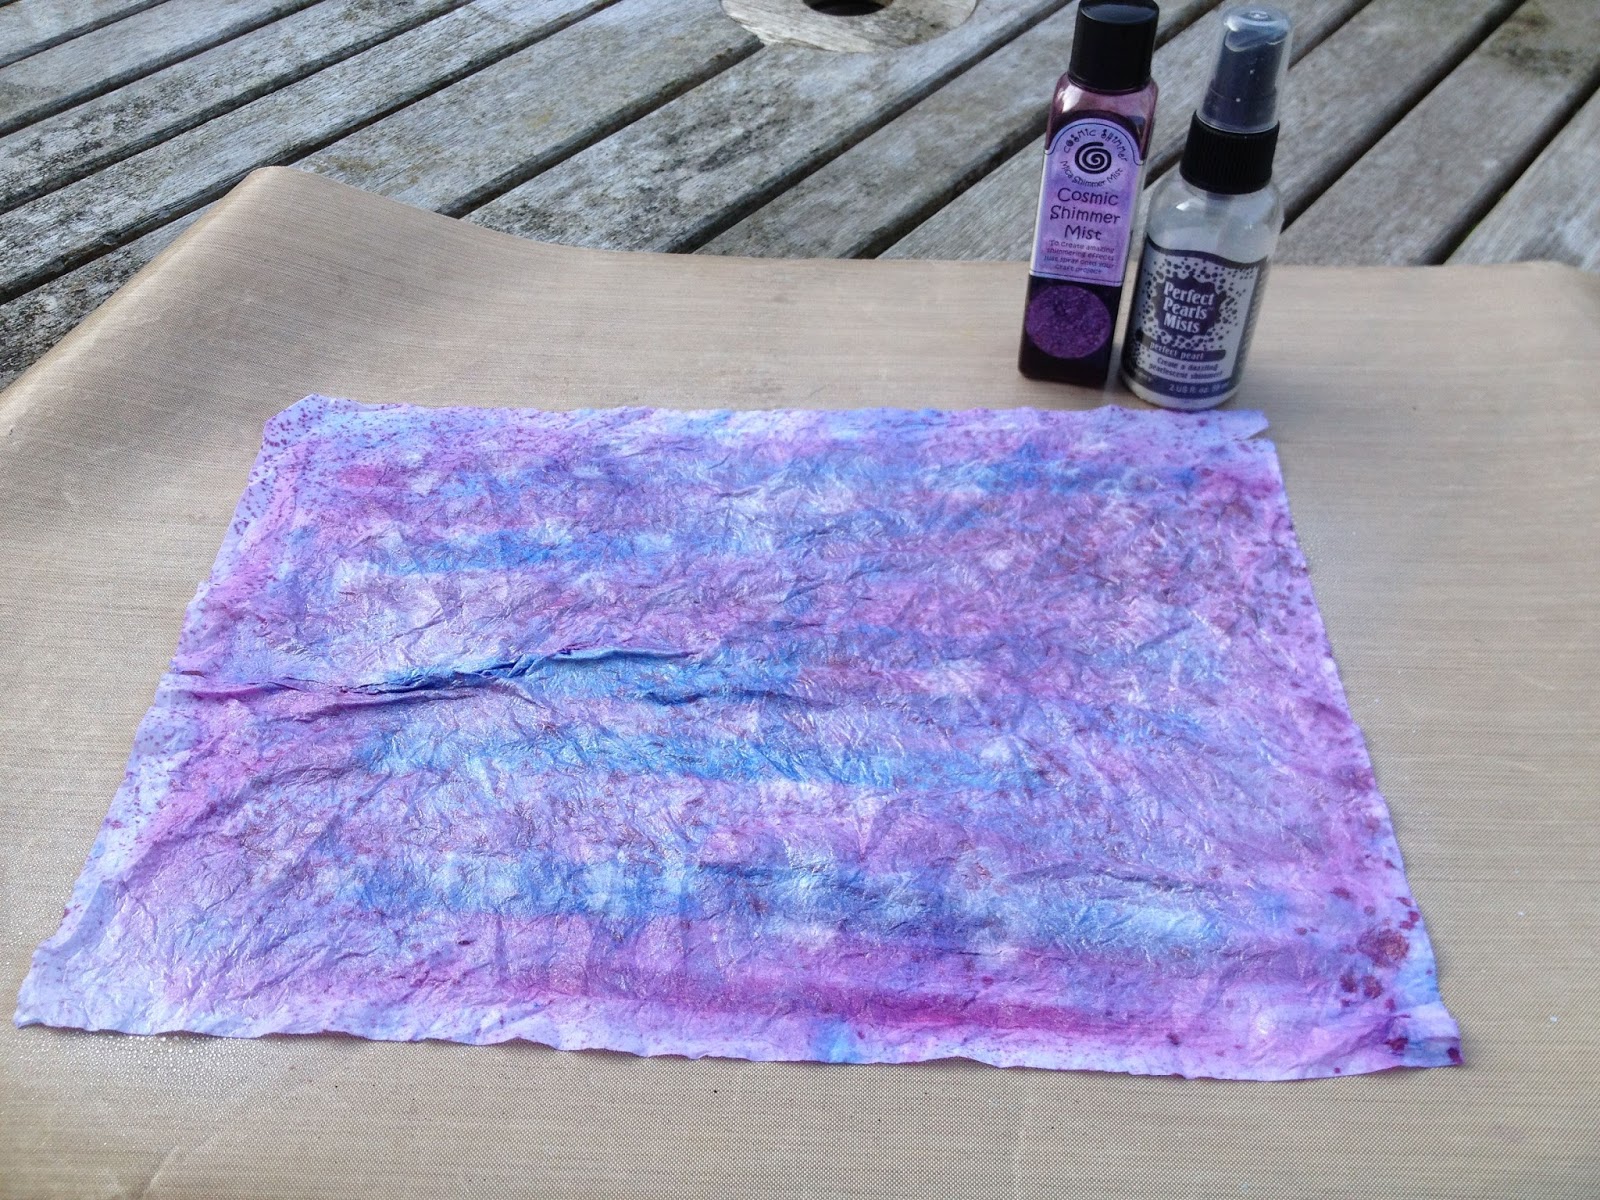
I then sprayed with Cosmic Shimmers Mist in Plum Twist and also Perfect Pearls Mist in Perfect Pearl and screw up in a ball again.

Now flatten out to dry, I usually leave this to air dry but if you are in a hurry you can use a heat gun.

You will notice the colours dry lighter than they first appear.


Once dry you are now ready to use however you wish, whether you die cut and layer your flowers or stamp with a design and then cut out by hand as in the picture. The paper has a lovely texture with all the wrinkles in it. 
 Here I stamped a second flower on a scrap of card and coloured the centre with pro markers , then brushed on some clear crackle paint and left to dry before cutting out and sticking in the centre.


Well I hope you have enjoyed reading this blog and will pop by another time, enjoy the rest of the weekend.
TTFN Jane x


Wednesday 21 August 2013

Hello Everyone

Well a very warm welcome to all our new blog readers. We very much hope you enjoy our varied and hopefully sometimes informative blogs. Today I thought I would start with a simple and easy to make Christmas gift tag. Yes I know its only August and I also hate people banging on about Christmas for months on end but the reason behind this is so that when you are out and about in various coffee houses you can collect one of the components.


Ok, so you need the magic coffee/tea stirrers. These vary slightly in size depending on where you drink your daily latte from but that doesn't matter.


Next you will need some luggage labels which can be purchased from most stationers and also some post offices stock them. some ribbon of your choice, I've used red and dark green gingham but you could buy ribbon that matched your wrapping paper. An oddment of card, this could be the back of an old birthday card, or a cereal packet to make the pot and a little glue, I used pva as that is what was to hand but a glue stick would work fine.
Cut the wooden stick in half, it will measure somewhere between 7-8cm now, tie lengths of ribbon on to the stick, the rounded end of the stick at the top. The shortest ribbon at the top and longest at the bottom. Don't at this stage cut the ribbon to the exact shape. Next draw a flower pot on the scrap of card and cut out. I used a jelly roll pen but you could use whatever you have a glitter pen or a silver or gold pen. ( raid the kids pencil case)

Now its time to assemble: glue the stick with the ribbons onto the tag and then glue the pot on top of the cut end of the stick to cover any raw edge. Once the glue has set cut the ribbons to shape, you might find that you need a touch of glue under the ends of ribbon to keep them in place. ( I had to glue the red ones but the green were fine, I have no idea why!!) Then if you fancy adding the fake stitching around the edge its just small dashes but don't use a ruler as it looks much better if they are not all straight.

So there you have it, a christmas tag which you can customise that won't brake the bank and you don't need a huge stash of crafty goodies to produce.
TTFN
Jane x